 Guides
Table of Contents
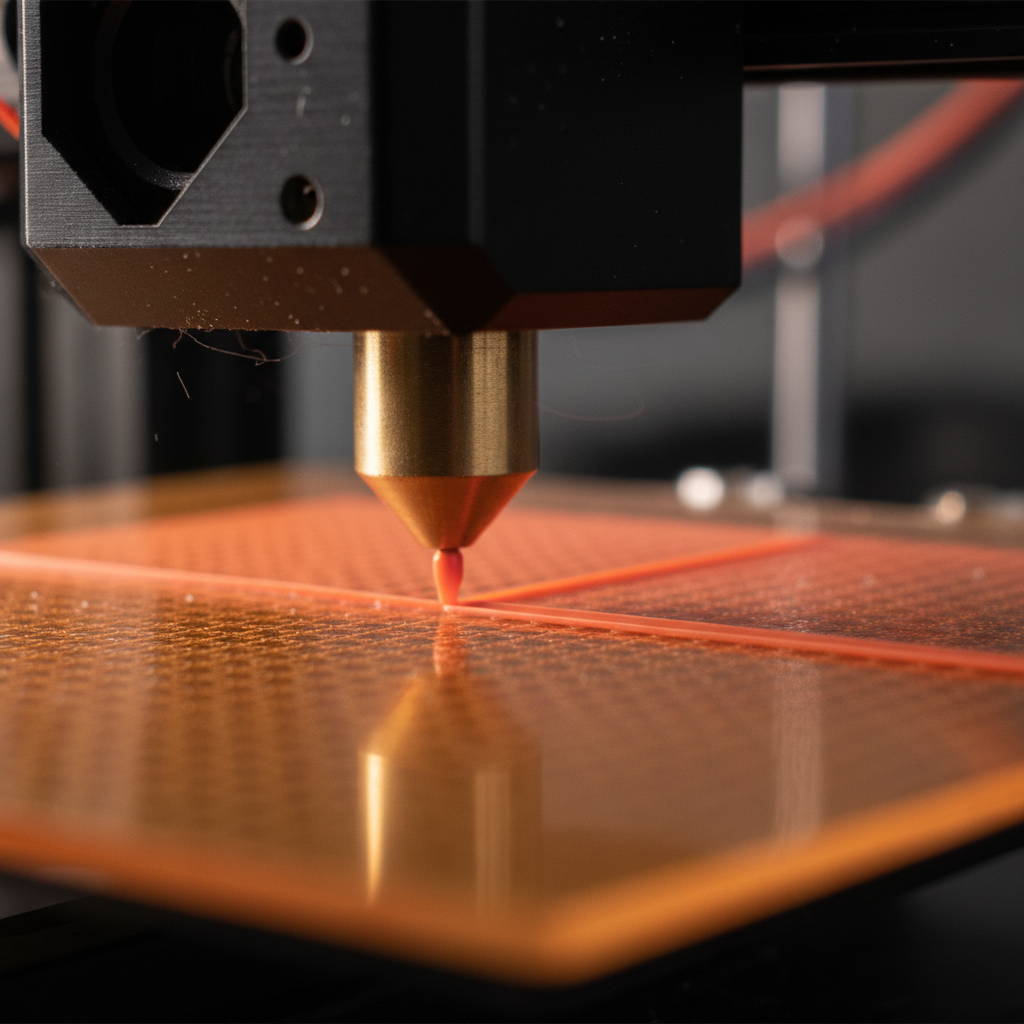
If you have been 3D printing for more than a week, you have already met the most common failure in the hobby: the first layer that just will not stick. The print pops loose mid-run, a corner lifts and warps, or the filament squiggles around like spaghetti instead of laying down clean lines.
The good news is that first-layer problems almost always come down to four things: bed level, nozzle height, surface prep, and temperature. Work through the checklist below in order and you will fix 95% of adhesion issues without buying a single new part.
Quick Diagnosis: What Does Your First Layer Look Like?
Before you change anything, run a single-layer test square (most slicers have one built in) and compare the result:
- Filament not sticking at all, lines look round and beady: nozzle is too far from the bed.
- Nozzle dragging through plastic, lines look transparent or ripped: nozzle is too close.
- Sticks in the center, lifts at corners: warping from temperature or surface issue.
- Sticks fine then peels off after a few layers: bed cooling, draft, or contamination.
- One side of the bed perfect, other side bad: bed is not level or is warped.
That single test square will tell you which section below to focus on.
Step 1: Re-Level the Bed (Yes, Again)
Beds drift. Springs compress, thumb wheels rotate when you bump them, and thermal cycling shifts everything by fractions of a millimeter. Re-level before you change anything else.
- Heat the bed to your normal print temperature (60°C for PLA, 80°C for PETG). A cold bed levels differently than a hot one.
- Home all axes, then disable the stepper motors.
- Use a sheet of standard printer paper at all four corners and the center. You want light drag, not a free slide and not a hard pinch.
- Run the cycle twice. Adjusting one corner always nudges the others.
If you have auto bed leveling, run the full mesh routine after preheating. Then check your Z-offset with a live first-layer test and tune until lines are slightly squished but not transparent.
Step 2: Clean the Build Surface
This is the single most overlooked fix. Skin oils, dust, and old filament residue kill adhesion fast, especially on PEI and glass beds.
- PEI sheets: wipe with 90%+ isopropyl alcohol before every print. Once a month, scrub with warm water and dish soap, then dry fully.
- Glass beds: same alcohol wipe. Old glue stick residue can be scraped off with a plastic spatula.
- Textured PEI: never touch the surface with your fingers. Handle by the edges.
If your PEI is shiny in spots where it used to be matte, those zones are polished from over-squish and will not grip well anymore. Flip the sheet or replace it.
Step 3: Dial In Your First-Layer Settings
Your slicer has separate settings for the first layer for a reason. Set these aggressively:
- First layer height: 0.2 to 0.24 mm. Thicker layers stick better than thin ones.
- First layer speed: 20 mm/s. Slow down so the plastic has time to bond.
- First layer line width: 110 to 120% of nozzle diameter. Wider lines mean more contact area.
- First layer bed temp: 5°C hotter than your normal print temp. Drop back to normal after layer 1.
- Initial fan speed: off for layer 1, off for layer 2, then ramp up.
These four numbers alone will fix most “sticks then peels” failures.
Step 4: Use the Right Adhesion Aid
Some materials need help. Match the aid to the filament:
- PLA on PEI: usually nothing needed if the bed is clean.
- PETG on PEI: apply a thin layer of glue stick. PETG bonds too well to bare PEI and rips chunks out.
- PETG on glass: glue stick or a hairspray layer works great.
- ABS or ASA: glue stick plus an enclosed printer. Without an enclosure, you will fight warping forever.
- TPU: painter’s tape or glue stick. TPU loves to fuse permanently to bare PEI.
If you are using a Bambu, Prusa, or any printer with a textured plate, most of these aids are unnecessary for PLA. But the temperature and speed rules still apply.
Step 5: Kill the Drafts
A 3D printer in a drafty room is fighting physics. A cool breeze across the bed shrinks the plastic unevenly, lifts corners, and ruins large prints especially.
- Move the printer away from windows, doors, and HVAC vents.
- For ABS, ASA, and large PETG prints, build a simple enclosure. A cardboard box with a cutout for the filament path works for a first attempt.
- Do not point a desk fan at the printer.
Step 6: Check the Filament Itself
Wet filament is the silent killer of first layers. PLA, PETG, and especially nylon and TPU absorb moisture from the air, which turns into steam at the nozzle and breaks adhesion.
If the filament hisses, pops, or extrudes inconsistently, dry it. A cheap filament dryer or even your oven at 45 to 55°C for 4 hours brings most filaments back to life.
When to Stop Tweaking and Start Replacing
If you have worked through everything above and your first layer is still inconsistent across the bed, the hardware itself may be the issue. Check for:
- A warped bed (lay a steel ruler across it and look for gaps).
- A bent Z-axis lead screw.
- Worn-out bed springs that will not hold tension.
A new build plate, a set of solid bed mounts, or silicone leveling spacers are cheap upgrades that solve problems no amount of recalibration ever will.
Get the first layer right and the rest of the print almost always falls into place. Save this checklist, work through it in order, and you will spend a lot less time watching prints fail and a lot more time watching them finish.
Sponsored
Ready to Print?
Browse our guides for more tips on getting the best results from your printer.
Browse All GuidesReady to Print?
Browse our guides for more tips, reviews, and step-by-step tutorials to get the most out of your 3D printer.
Browse All Guides