 Upgrades
Table of Contents
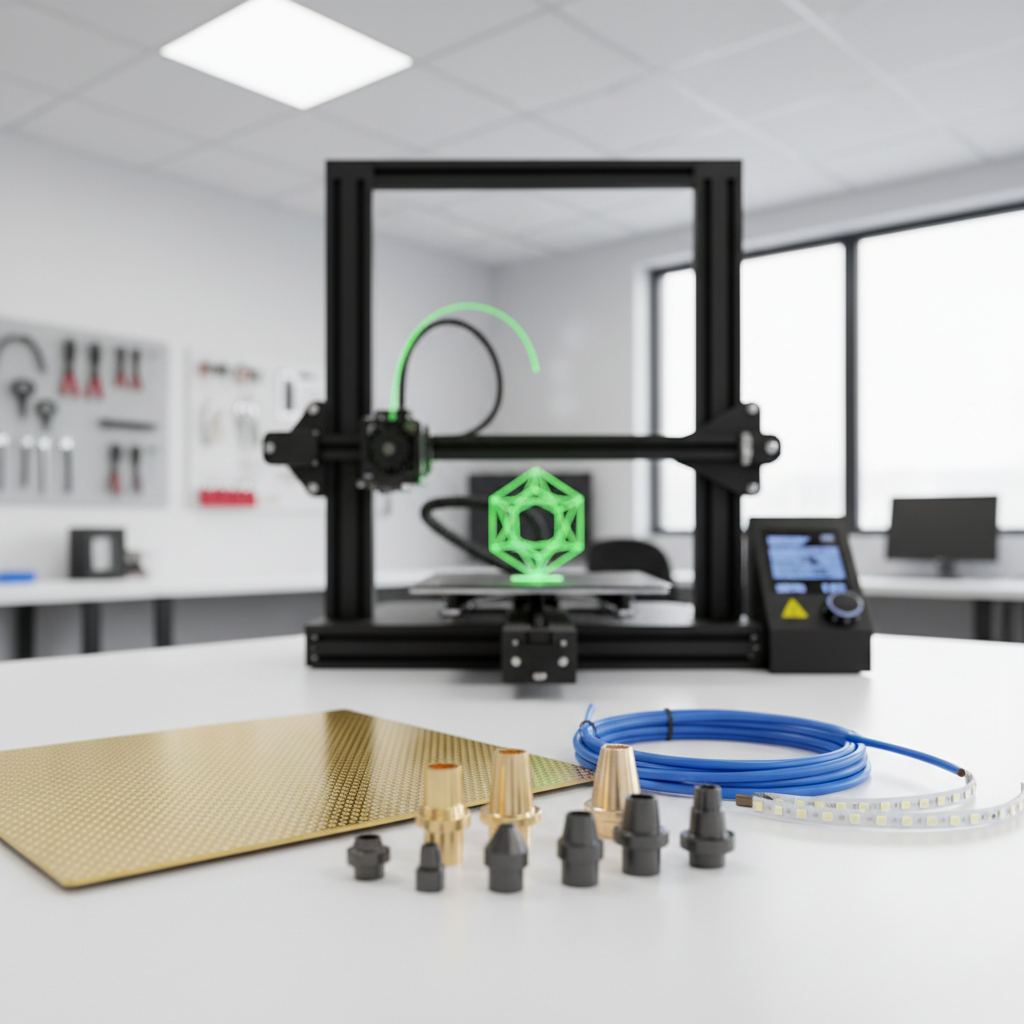
You unboxed your 3D printer, ran a few test prints, and now you’re hooked. But somewhere between your fifth Benchy and your first functional part, you noticed it: stringing, layer lines, adhesion failures, or just prints that don’t quite look like the ones on Reddit. The good news? You don’t need to buy a new printer. A handful of upgrades - all under $50 - can transform a stock machine into something that prints like it costs twice the price.
Here are the seven best budget upgrades for 2026 that we’ve tested and recommend to every 3D printing enthusiast.
Why Stock 3D Printers Need Upgrades
Budget 3D printers like the Creality Ender-3 V3, Elegoo Neptune 4, and Anycubic Kobra series ship with components that work - but just barely. Manufacturers cut costs on tubing, bed surfaces, nozzles, and hotends to hit aggressive price points. The result is a machine that prints acceptably out of the box but leaves serious performance on the table.
Stock PTFE tubing degrades at higher temperatures. Magnetic build plates warp over time. Brass nozzles wear out after a few rolls of abrasive filament. These aren’t design flaws - they’re trade-offs. And every one of them has a cheap, drop-in fix.
The upgrades below target the most common pain points: bed adhesion, hotend reliability, print surface quality, and overall consistency. Most take less than 30 minutes to install and require no firmware changes.
Top 7 Upgrades Under $50
1. PEI Spring Steel Build Plate - ~$20
This is the single best upgrade you can make to any FDM printer. A PEI-coated spring steel sheet replaces your stock magnetic bed surface and gives you reliable first-layer adhesion without glue sticks, hairspray, or tape. Prints pop off cleanly when the bed cools, and the textured surface adds a professional finish to bottom layers.
We recommend the double-sided version (smooth PEI on one side, textured on the other) so you can switch depending on the project.
2. All-Metal Hotend Heatbreak - ~$15
Stock hotends on most budget printers use a PTFE-lined heatbreak, which limits your max temperature to around 240°C before the lining starts to degrade and release fumes. An all-metal heatbreak removes that limitation, letting you print PETG, ASA, nylon, and other high-temp materials safely.
The Micro Swiss and TriangleLab clones are both solid options. Make sure you get one that matches your printer’s hotend style - most Creality machines use the MK8 or Spider-style heatbreak.
3. Capricorn PTFE Tubing - ~$12
If you’re sticking with a Bowden setup (and not going direct drive), Capricorn XS tubing is a must. It has tighter inner tolerances than stock tubing, which reduces filament play and cuts down on stringing and retraction issues. The lower friction also means smoother extrusion at higher speeds.
It takes about 10 minutes to swap and the difference in retraction performance is immediately noticeable.
4. Hardened Steel or Ruby-Tipped Nozzles - ~$10–$30
Brass nozzles are fine for standard PLA, but the moment you run carbon fiber, glow-in-the-dark, or wood-fill filament, they start to wear. A hardened steel nozzle lasts dramatically longer with abrasive materials. If you want the best of both worlds - durability and thermal conductivity - look at bimetallic nozzles with a copper body and hardened tip.
Keep a few 0.4mm and 0.6mm nozzles on hand. Swapping nozzle sizes is one of the easiest ways to balance speed and detail depending on the print.
5. LED Light Bar or Strip - ~$15
This one is underrated. A simple LED light bar mounted to your gantry or frame makes a huge difference for monitoring prints, spotting first-layer issues early, and getting better timelapses. Many kits come with magnetic mounts that attach directly to the aluminum extrusion - no drilling required.
Beyond the practical benefits, it just makes your setup look better. And when you’re watching a 12-hour print, that matters.
6. Filament Dryer Box - ~$40–$50
Wet filament is the silent killer of print quality. If you’ve ever heard popping during extrusion, seen rough surface finishes on PETG, or dealt with mysterious stringing that won’t go away with retraction tuning - your filament is probably absorbing moisture from the air.
A heated filament dryer box like the SUNLU S2 or eSUN eBOX Lite keeps spools dry during storage and can actively dry filament while you print. This is especially critical for hygroscopic materials like nylon, TPU, and PETG.
7. Belt Tensioners - ~$8–$12
Loose belts cause layer shifting, ghosting (ringing artifacts), and dimensional inaccuracy. Stock tensioning methods on most budget printers are crude - usually just pulling the belt tight and hoping for the best. Aftermarket belt tensioners with spring-loaded or screw-adjusted mechanisms give you precise, repeatable tension on both the X and Y axes.
This is one of those upgrades where you install it and immediately wonder why it wasn’t included from the factory.
Installation Difficulty Ranked
Not all upgrades are created equal when it comes to installation. Here’s how we rank them from easiest to hardest:
| Upgrade | Difficulty | Time | Tools Needed |
|---|---|---|---|
| PEI Build Plate | ⭐ Easy | 2 min | None |
| LED Light Bar | ⭐ Easy | 5 min | None |
| Capricorn Tubing | ⭐⭐ Easy-Medium | 10 min | PTFE cutter or sharp blade |
| Belt Tensioners | ⭐⭐ Easy-Medium | 15 min | Allen keys |
| Filament Dryer | ⭐ Easy | 0 min | None (standalone device) |
| Hardened Nozzles | ⭐⭐ Easy-Medium | 10 min | Socket wrench, heat to 200°C |
| All-Metal Heatbreak | ⭐⭐⭐ Medium | 20–30 min | Allen keys, patience |
The heatbreak swap is the only upgrade here that requires partial hotend disassembly. Watch a YouTube tutorial specific to your printer model before attempting it. The rest are genuinely plug-and-play.
Before and After: What These Upgrades Actually Fix
We ran side-by-side comparison prints on a stock Ender-3 V3 KE and the same machine with all seven upgrades installed. Here’s what changed:
First Layer Adhesion: The PEI sheet eliminated the need for glue stick entirely. First layers went down flat and consistent across the entire build surface, even on large prints that previously warped at the corners.
Stringing and Retraction: Capricorn tubing plus the all-metal heatbreak cut stringing by roughly 80% on PETG test prints. Retraction distance dropped from 6mm to 3mm with better results.
Surface Quality: Dry filament from the dryer box eliminated the rough, pockmarked surface that wet PETG produces. Overhangs and bridging improved noticeably when moisture wasn’t causing micro-bubbles in the extrusion.
Dimensional Accuracy: Proper belt tension brought X/Y dimensional accuracy within 0.1mm on calibration cubes - previously, we were seeing 0.3–0.5mm deviation on the loose-belt axis.
Print Speed and Reliability: The combined effect of all upgrades meant fewer failed prints, less time re-leveling or re-applying adhesive, and the confidence to run longer prints overnight without babysitting.
The Bottom Line
You can spend under $130 total to install every upgrade on this list - or pick just two or three that address your biggest pain points. If we had to choose only one, it would be the PEI build plate. If we had to choose two, add the filament dryer. Those two upgrades alone eliminate the most common sources of failed prints.
The best part? None of these upgrades are printer-specific. Whether you’re running an Ender-3, a Bambu A1 Mini, a Neptune 4, or an Anycubic Kobra, these parts either fit directly or have versions made for your machine.
Stop fighting your stock hardware. A few smart upgrades and an afternoon of tinkering will have your printer punching well above its weight class.
Sponsored
Ready to Print?
Browse our guides for more tips on getting the best results from your printer.
Browse All GuidesReady to Print?
Browse our guides for more tips, reviews, and step-by-step tutorials to get the most out of your 3D printer.
Browse All Guides